
0
Corey Allen - 2023 Showreel

0
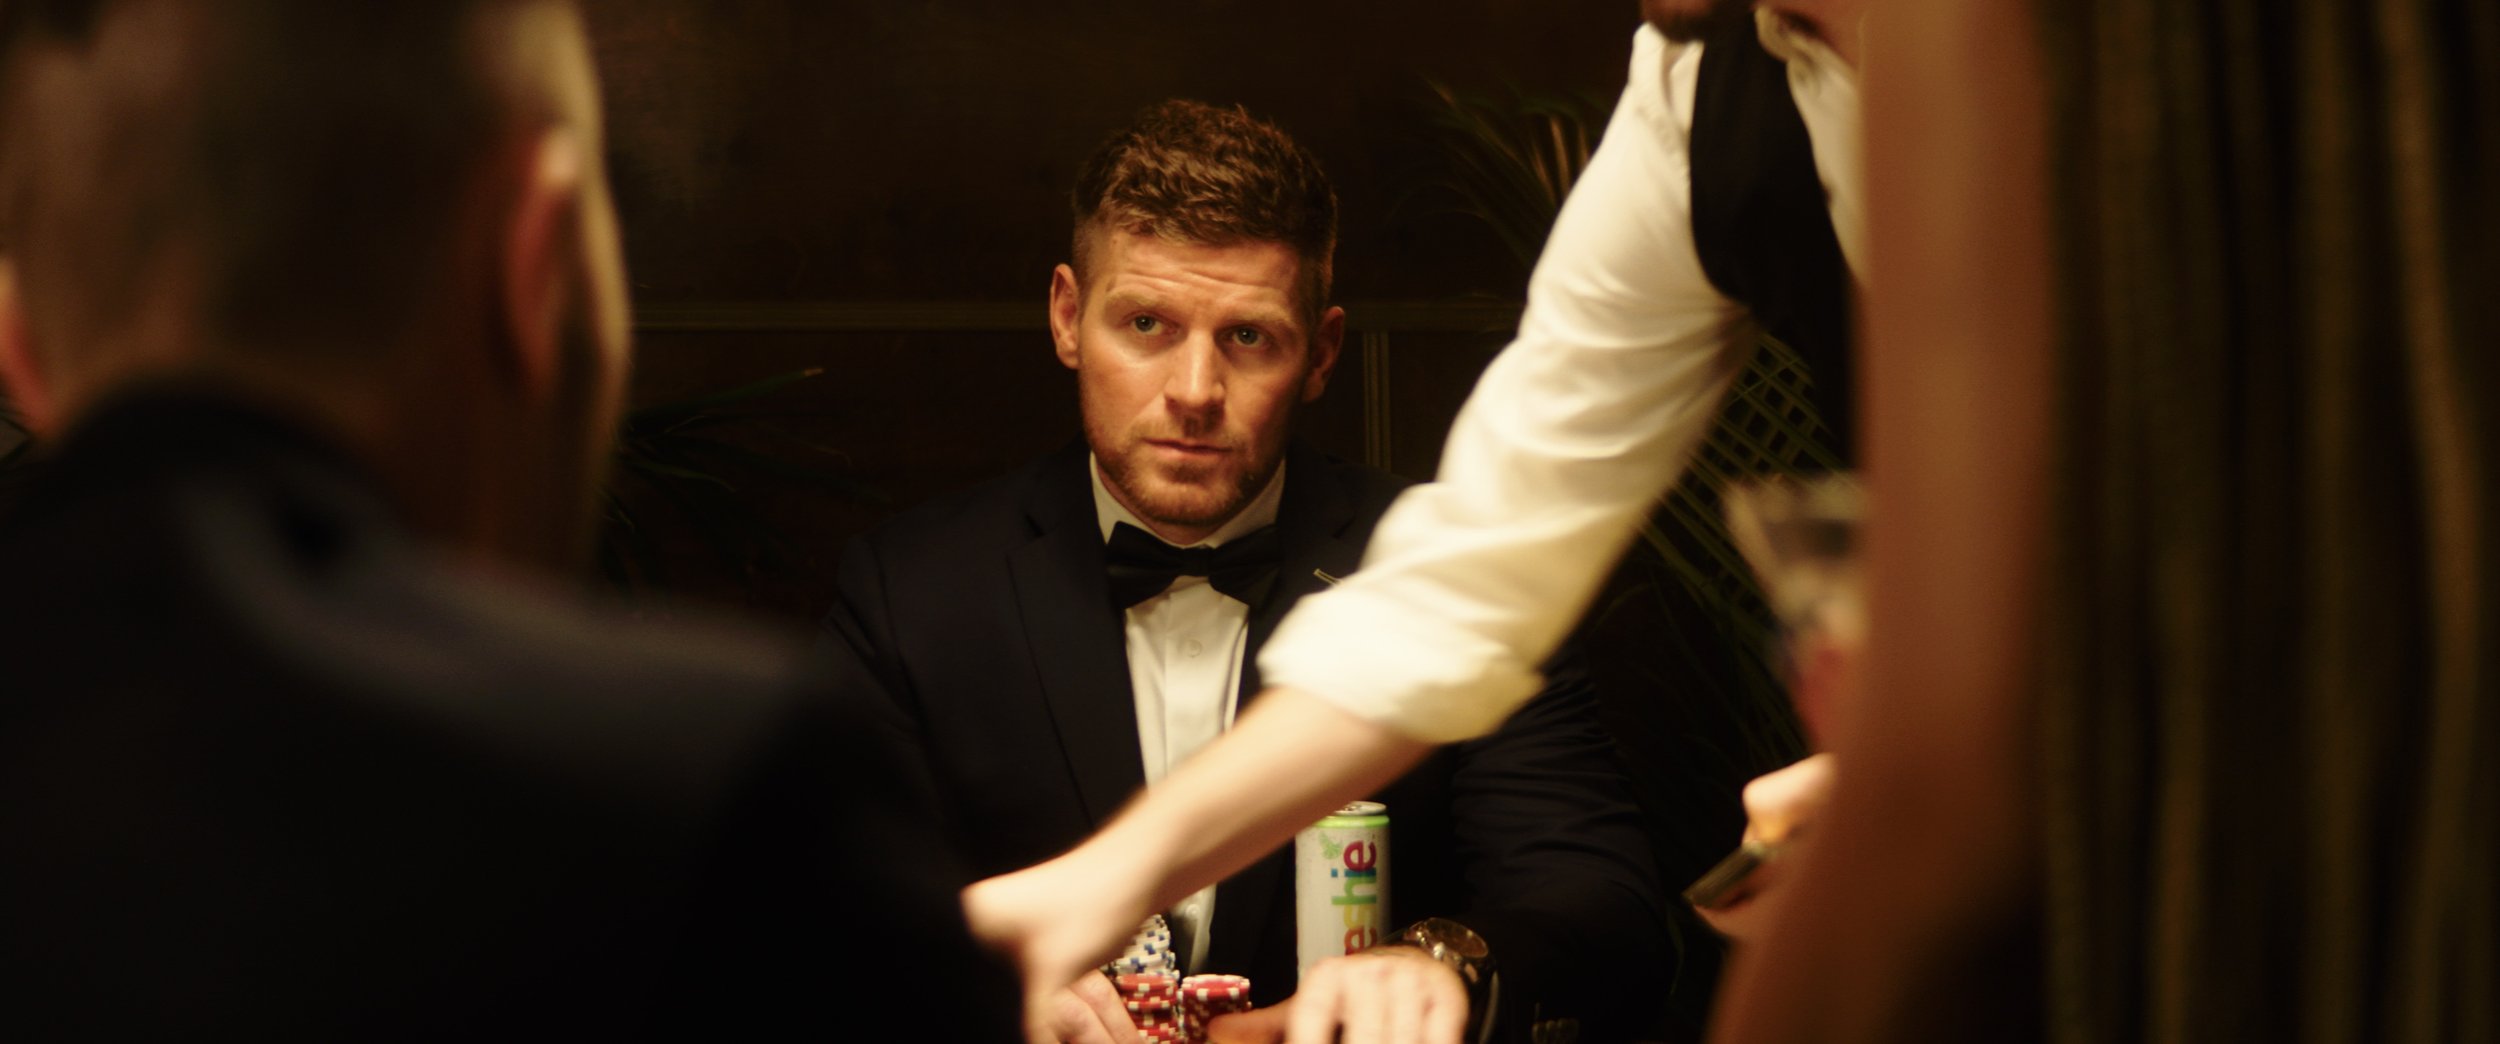
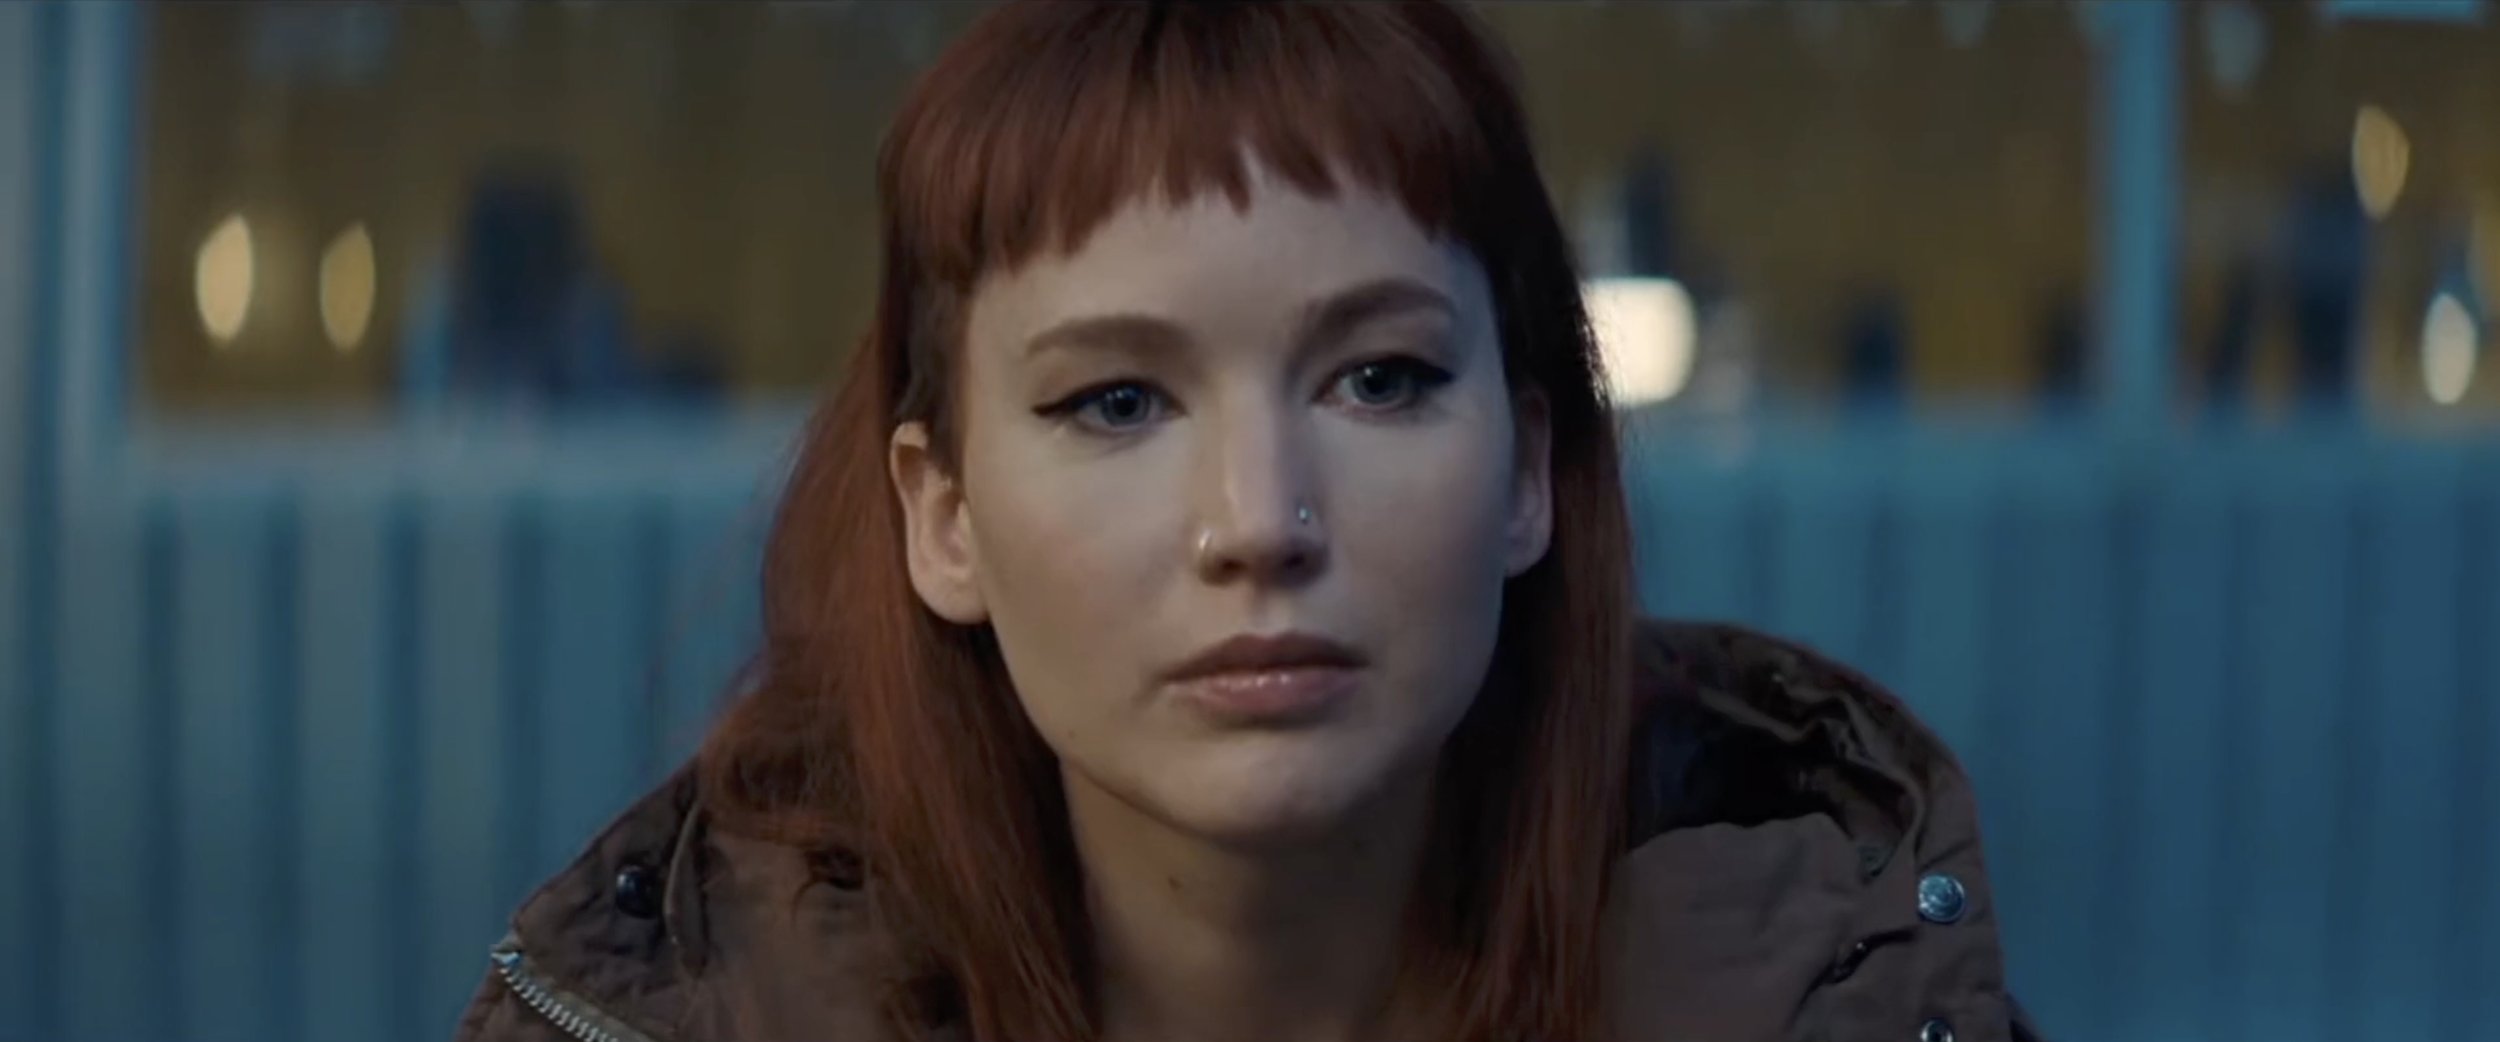
Seeker - Action Short Film

0
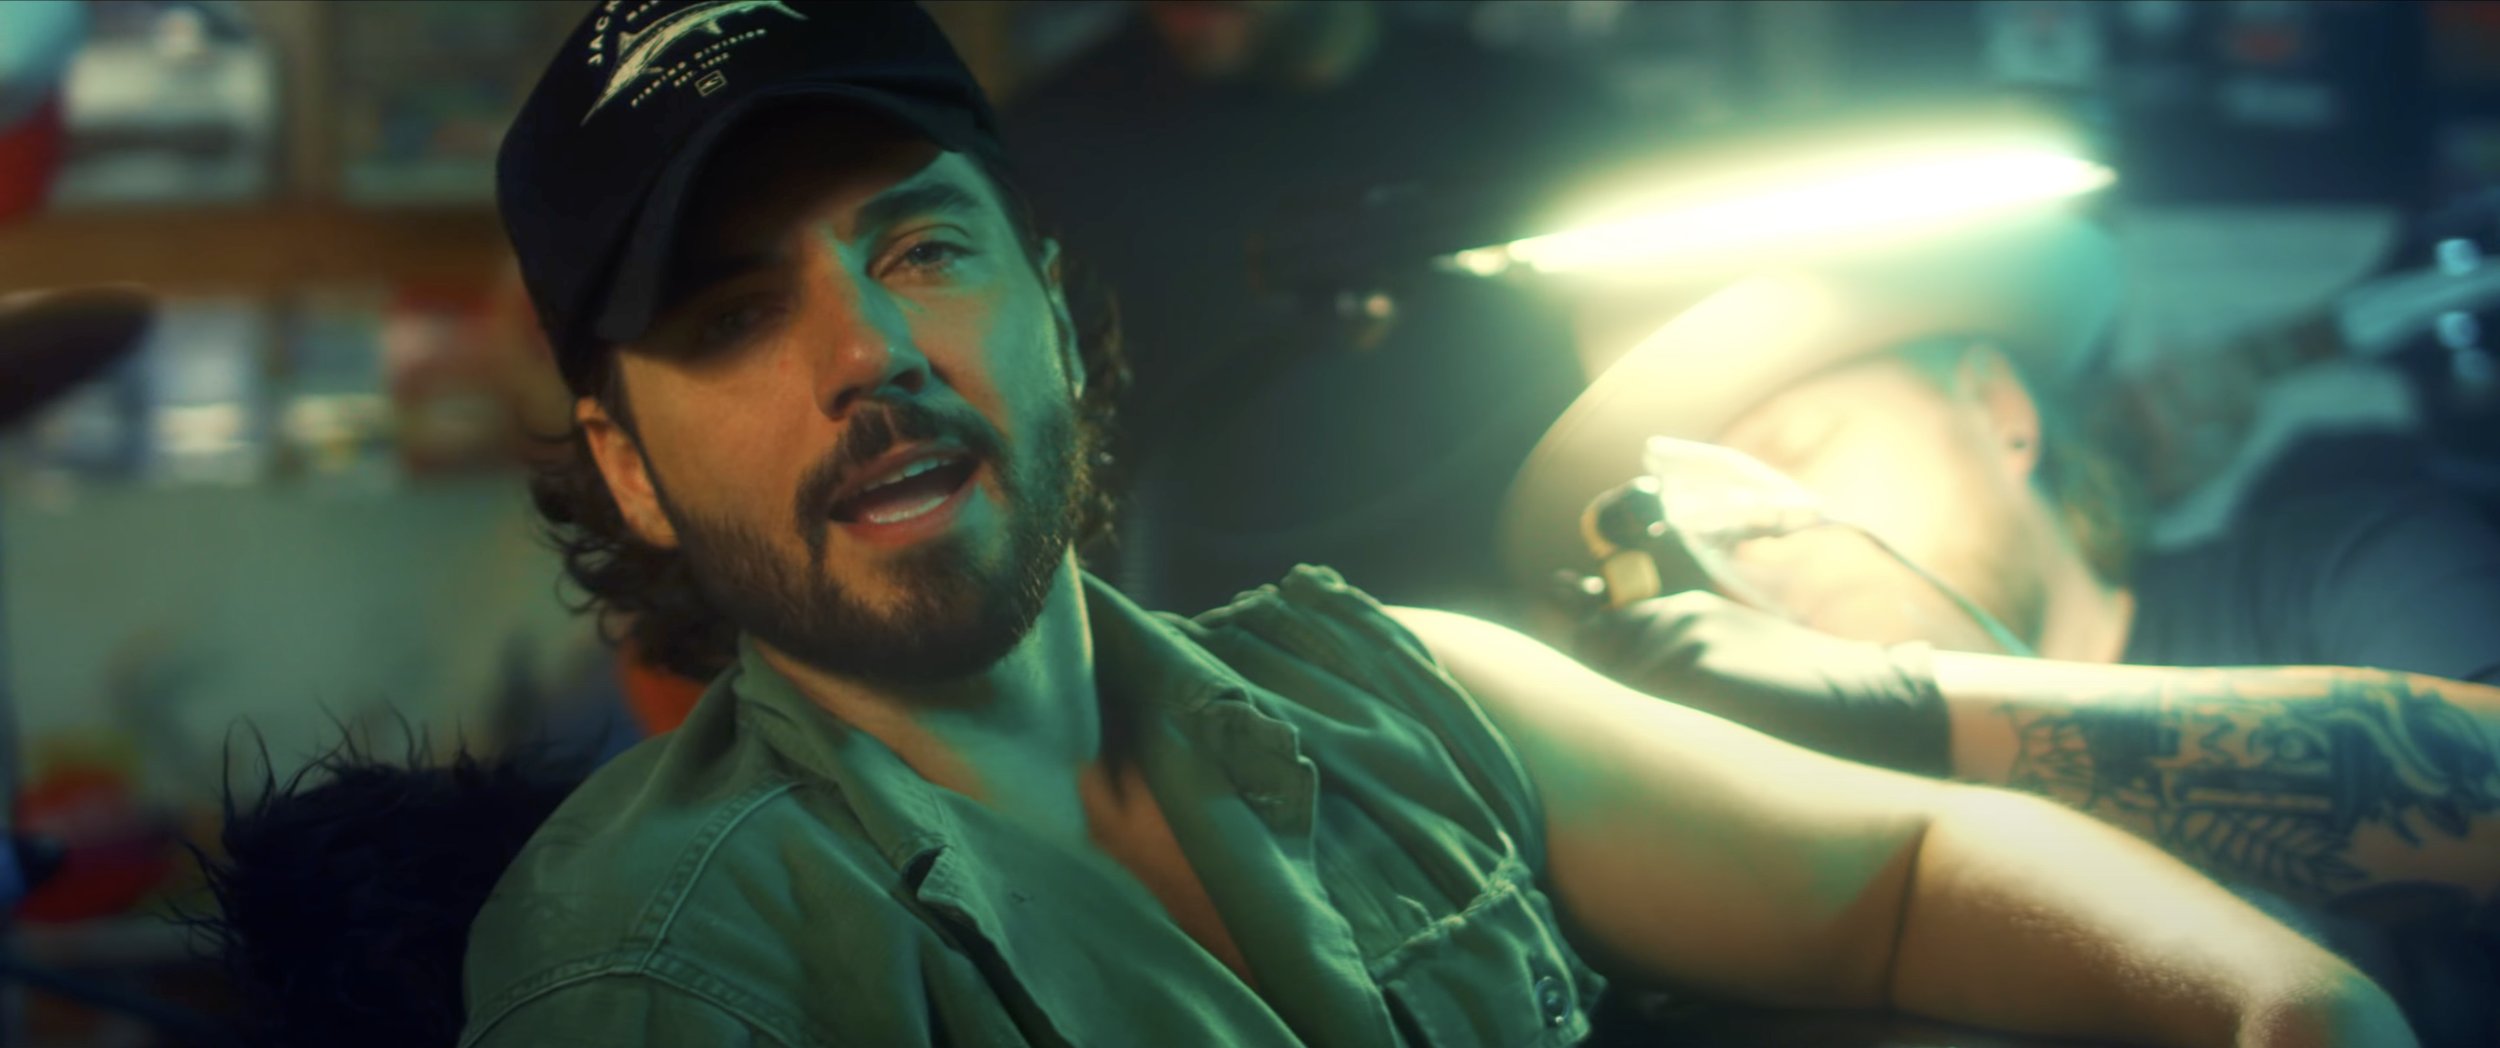
Justin Moore and Priscilla Block - "You, Me, and Whiskey"

0
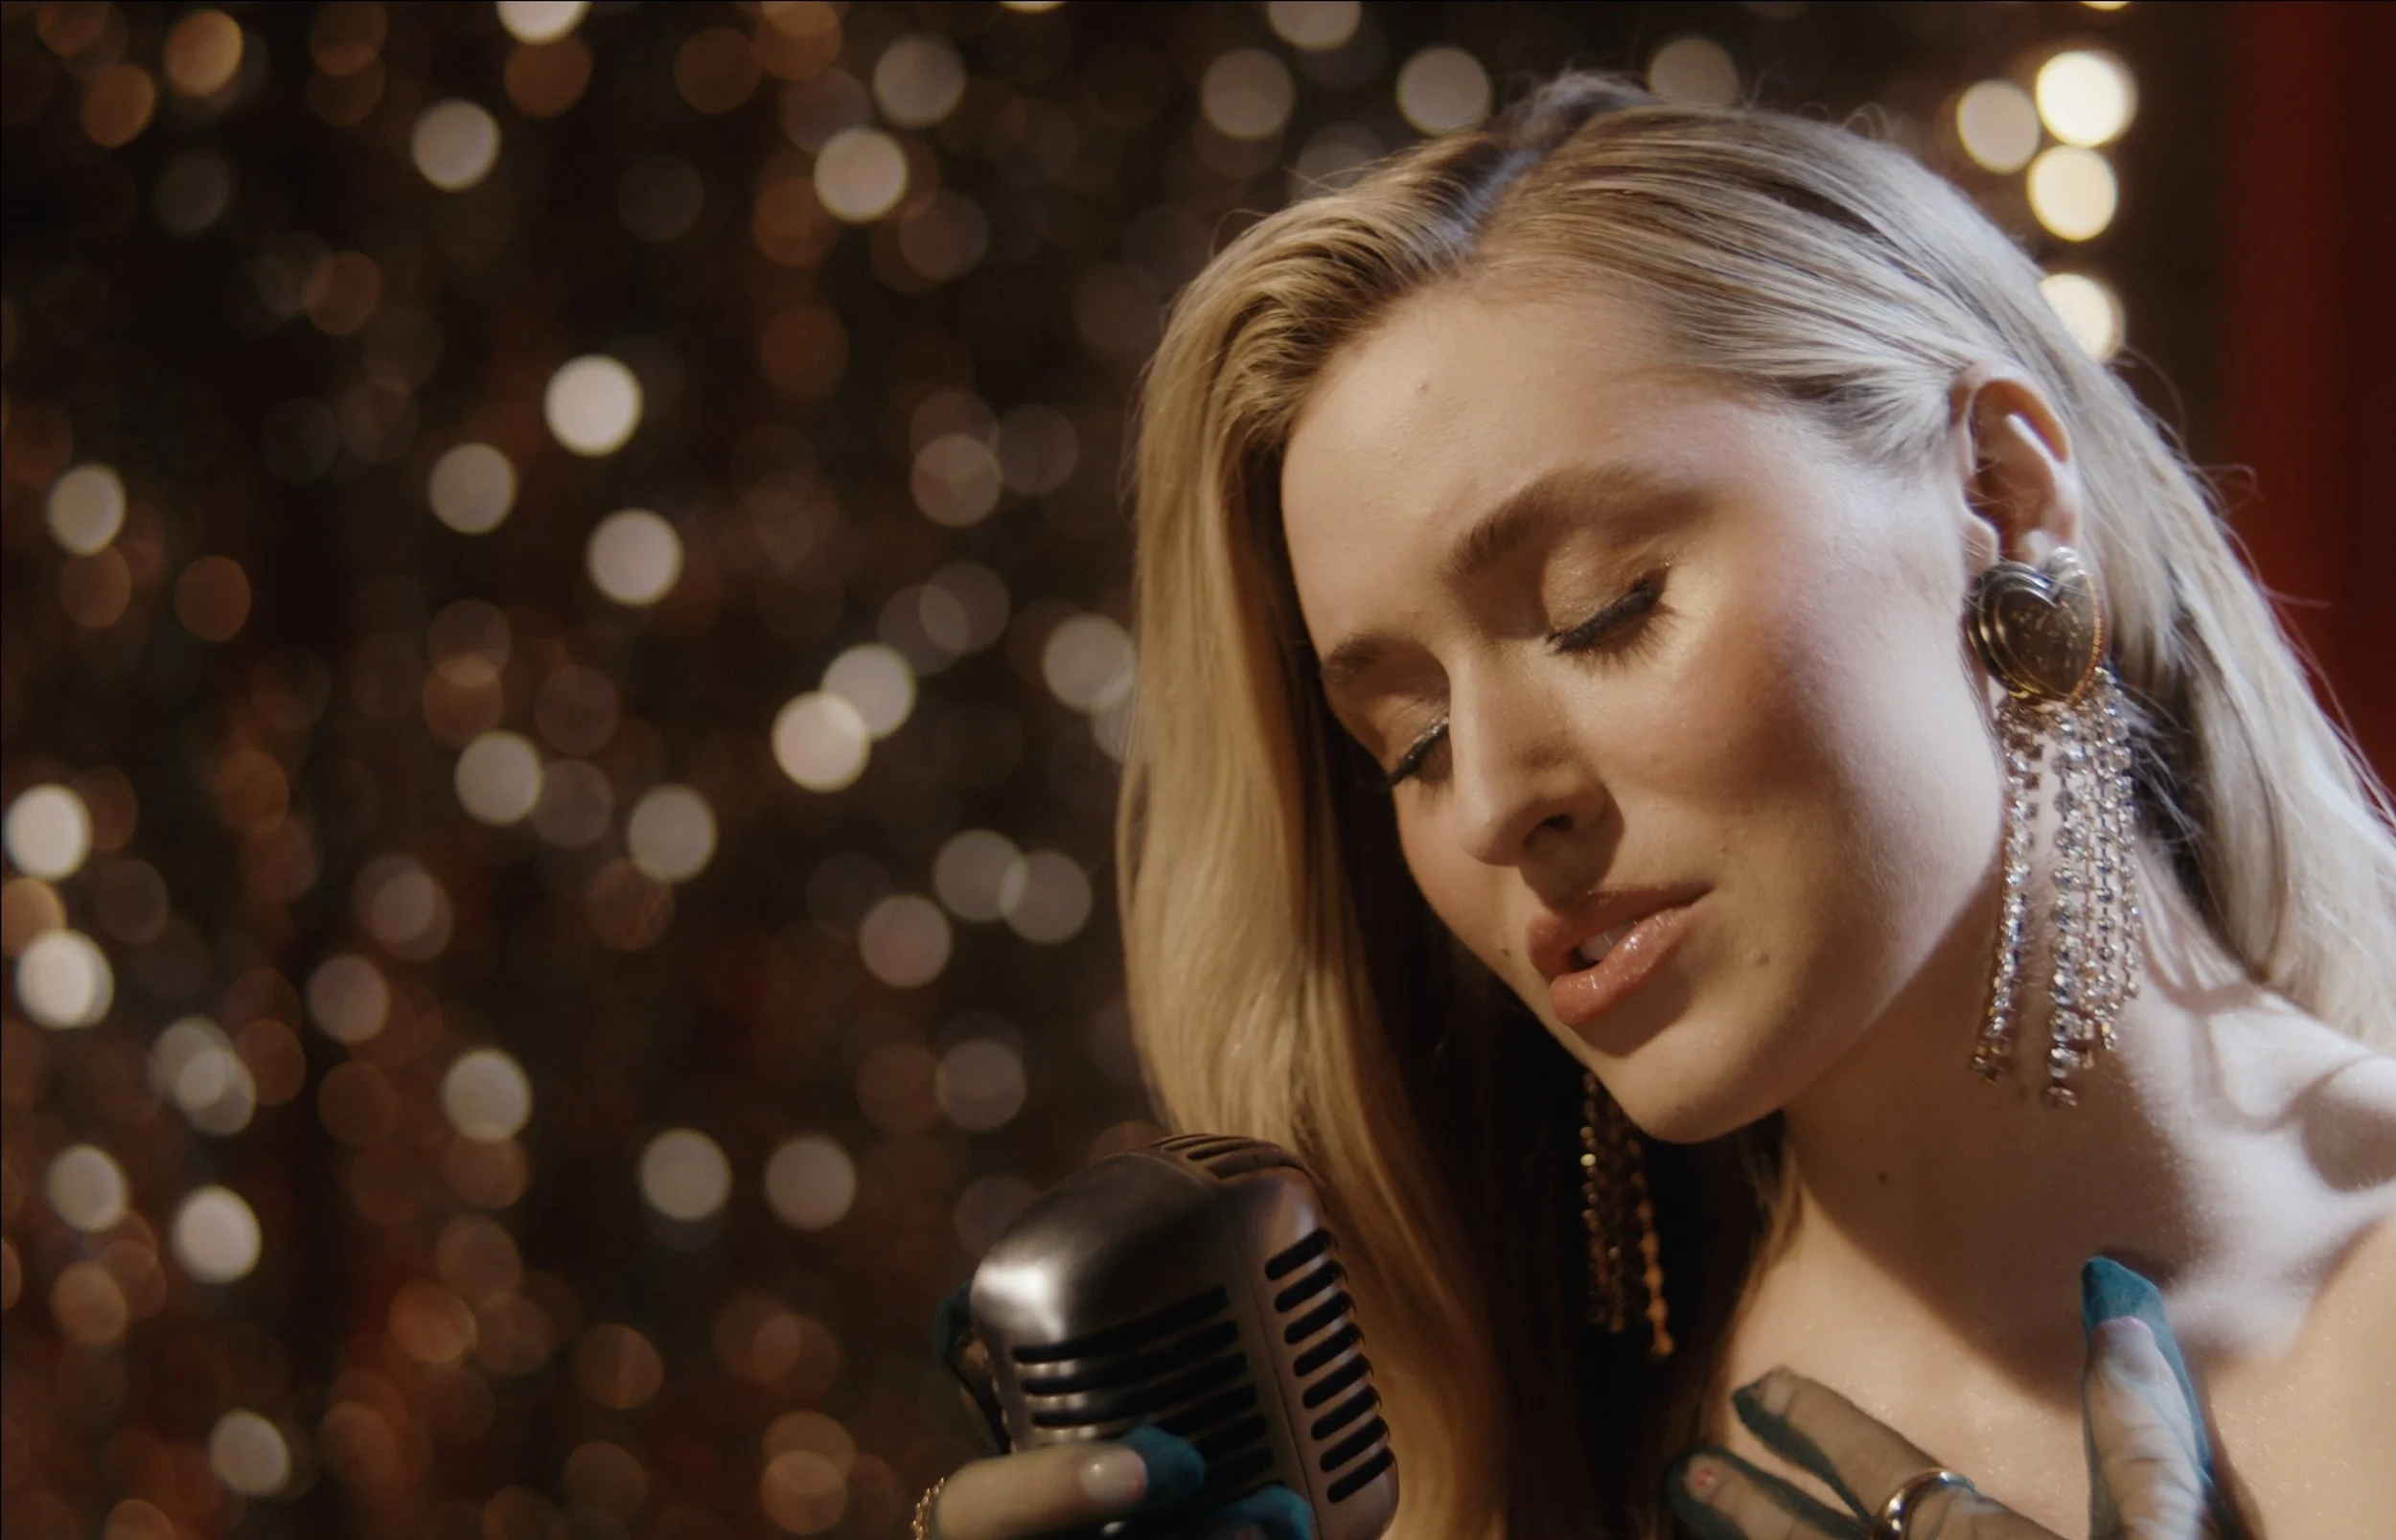
Harper Grace - "Santa Baby"

0
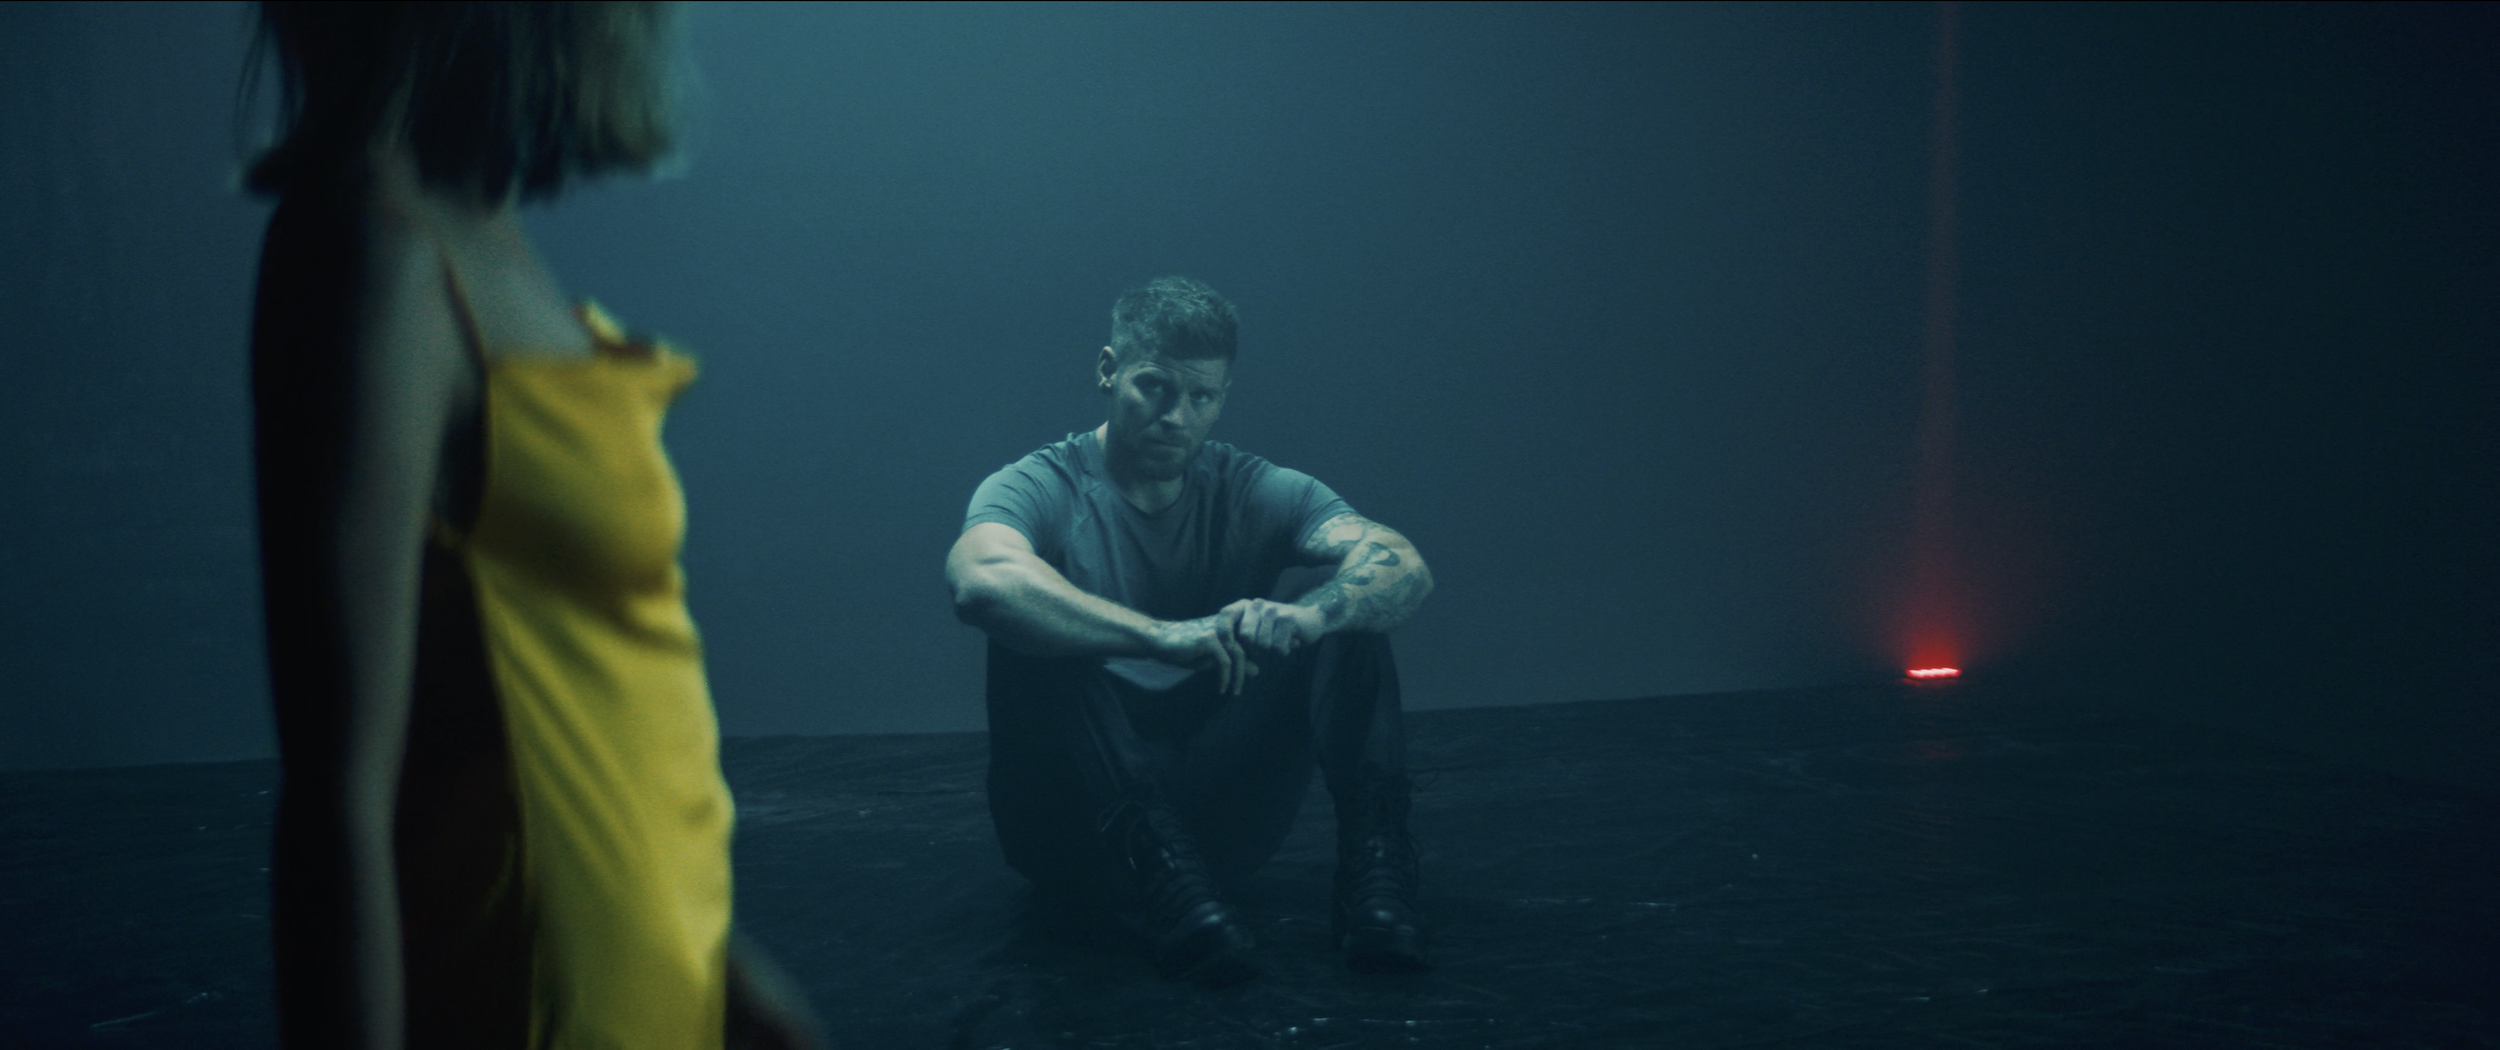
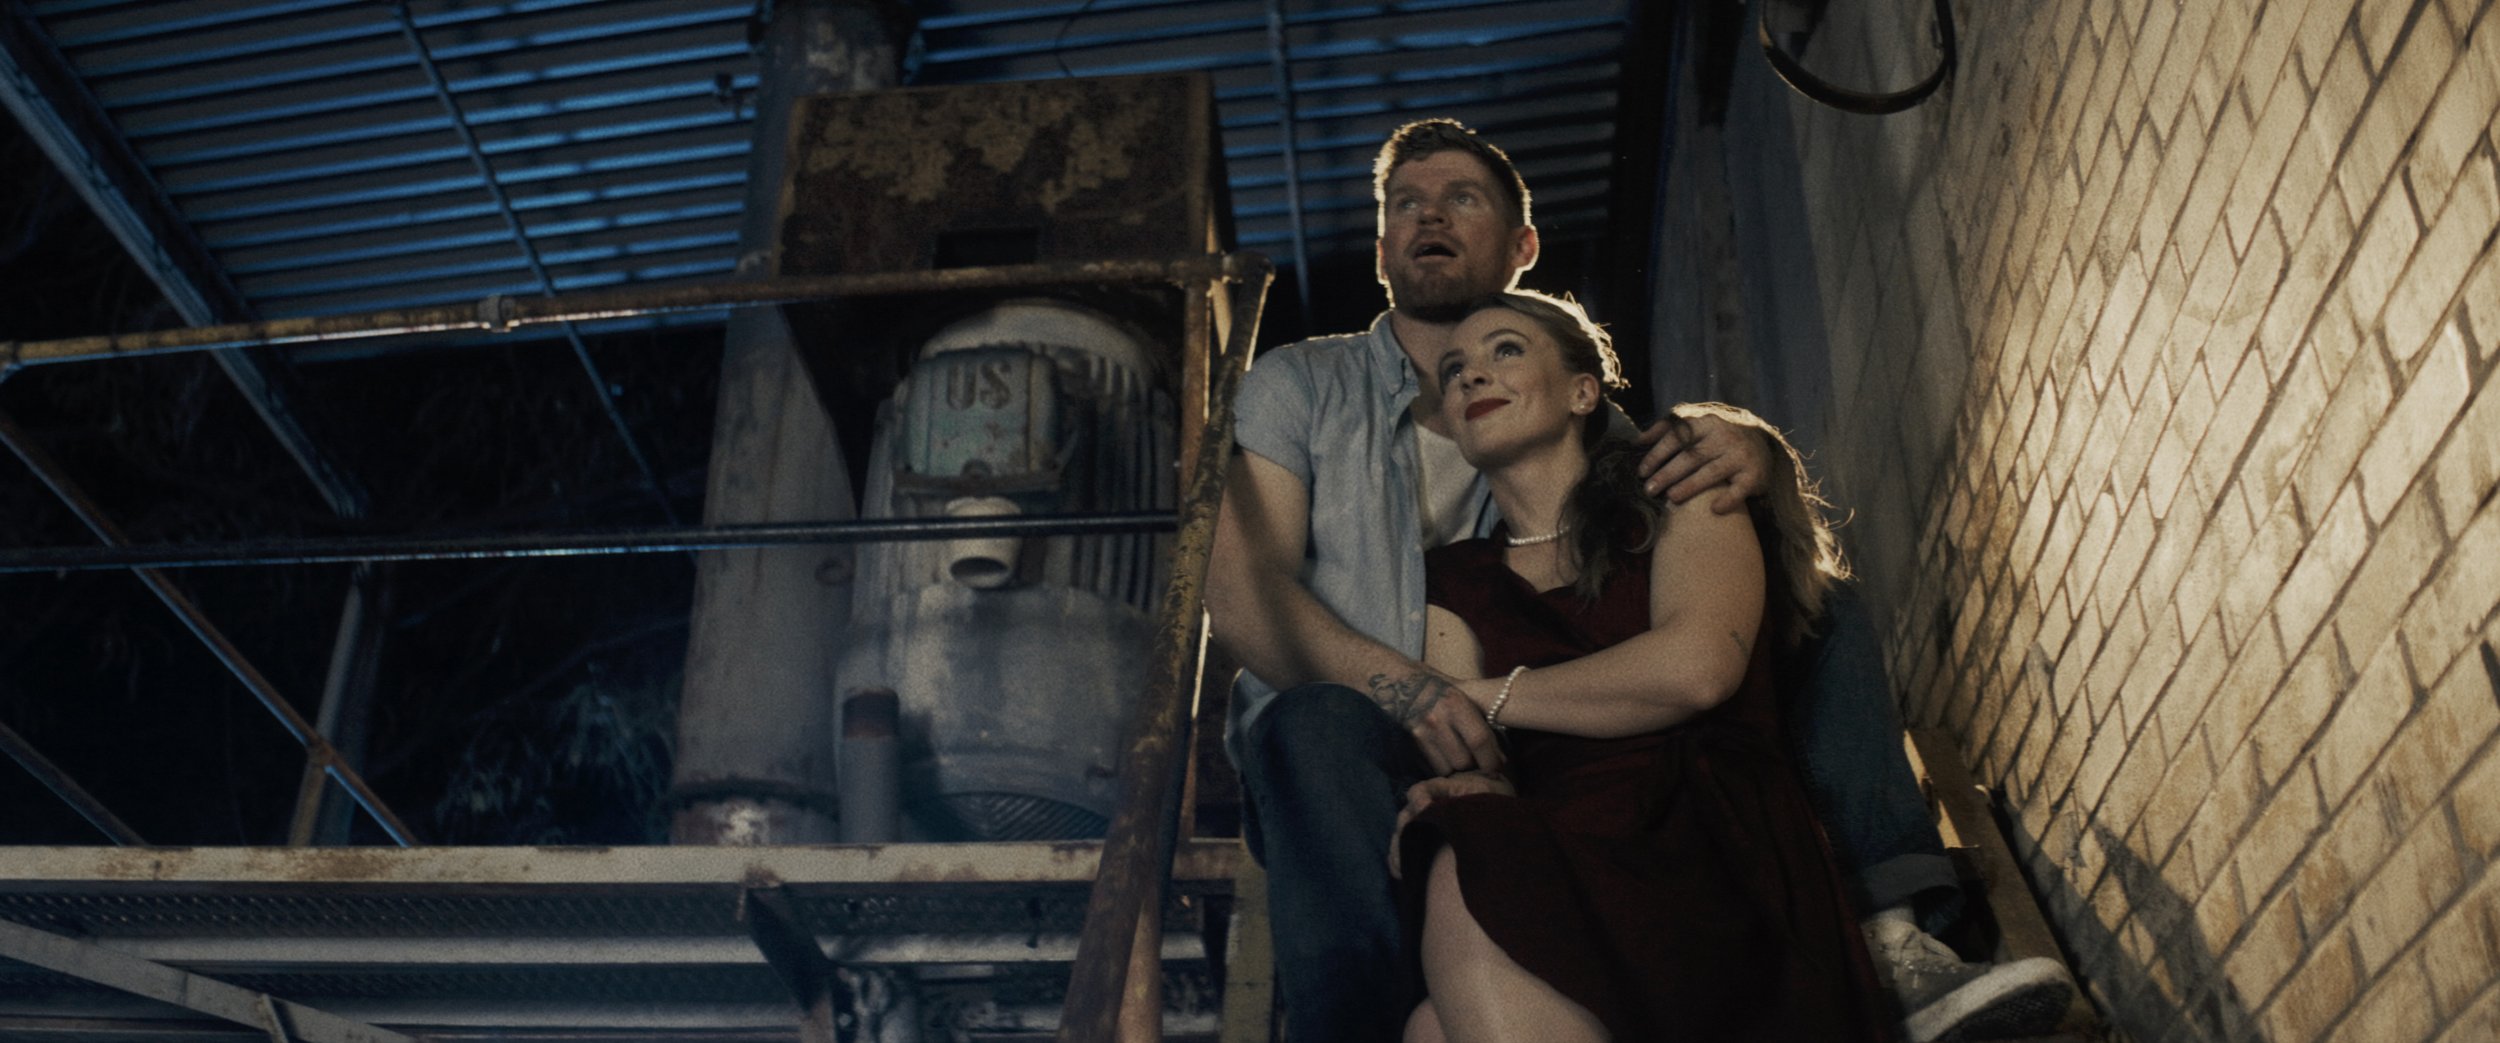
Canaan Cox - "As You Leave"
0
Harper Grace - "O Holy Night"

0
Colt Ford & Krizz Kalico / HoodBillies - "Hits Different"

0
Nate Mitchell - "Dotted Line"

0
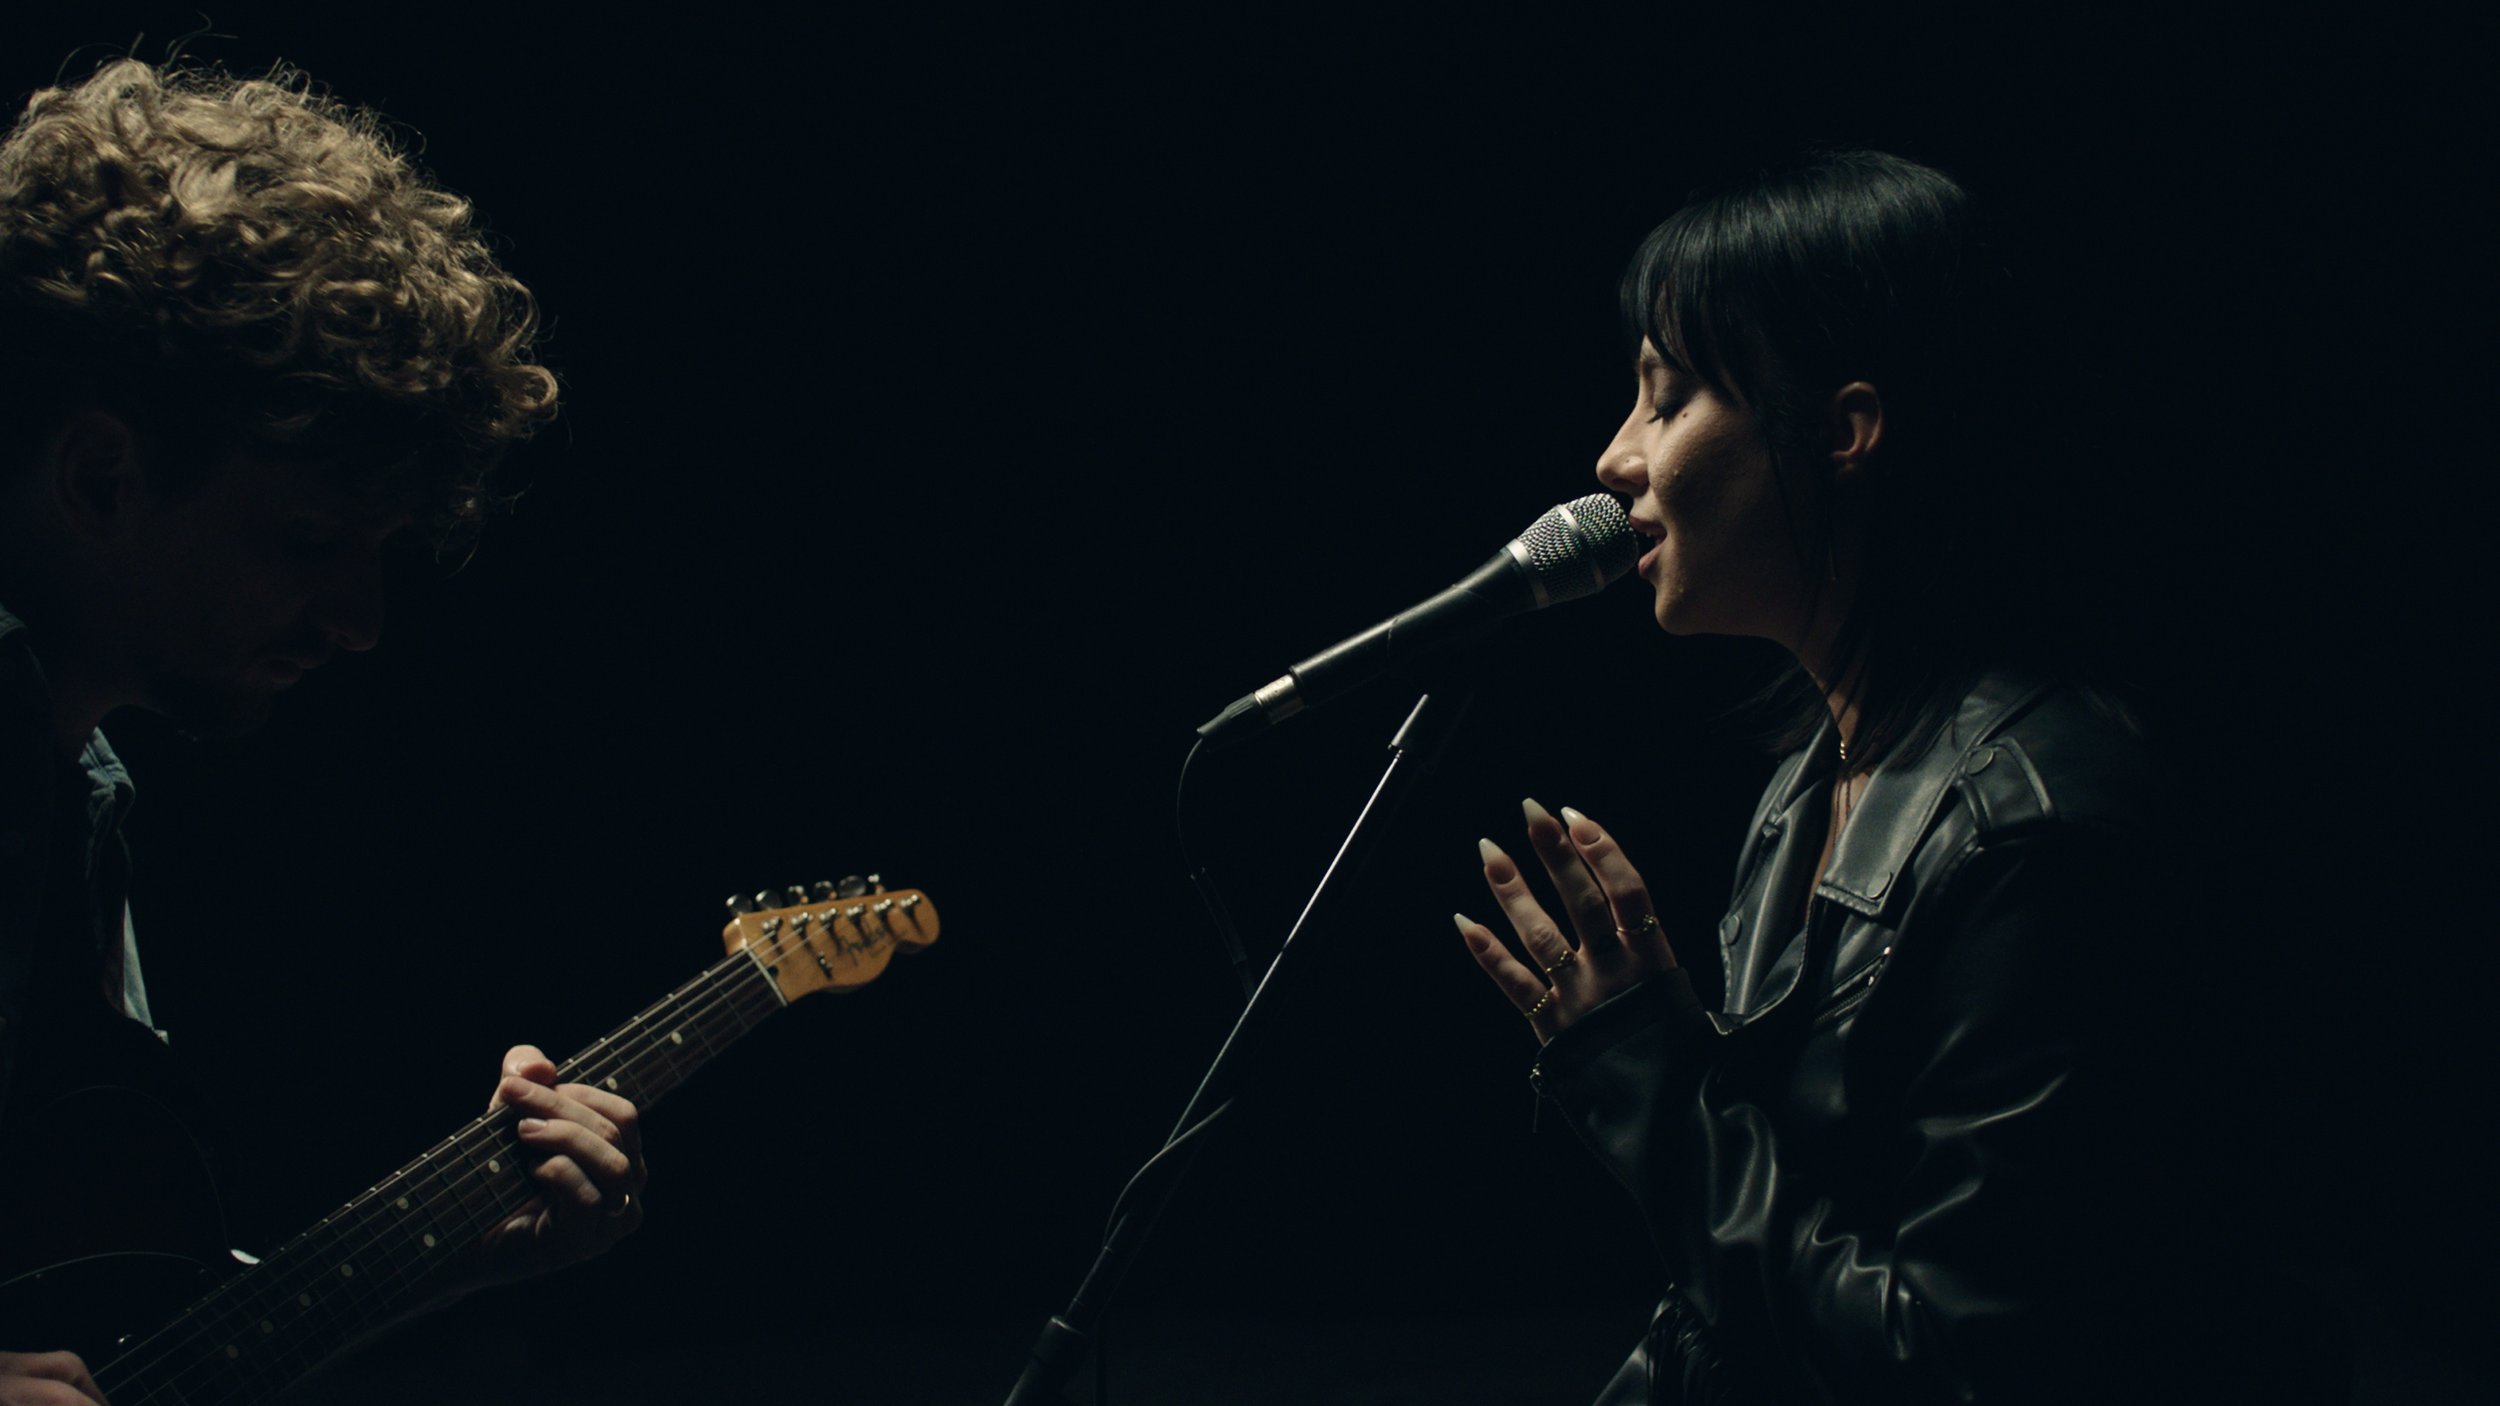
Austin Michael - "Ain't Got Me" Garage Session
0
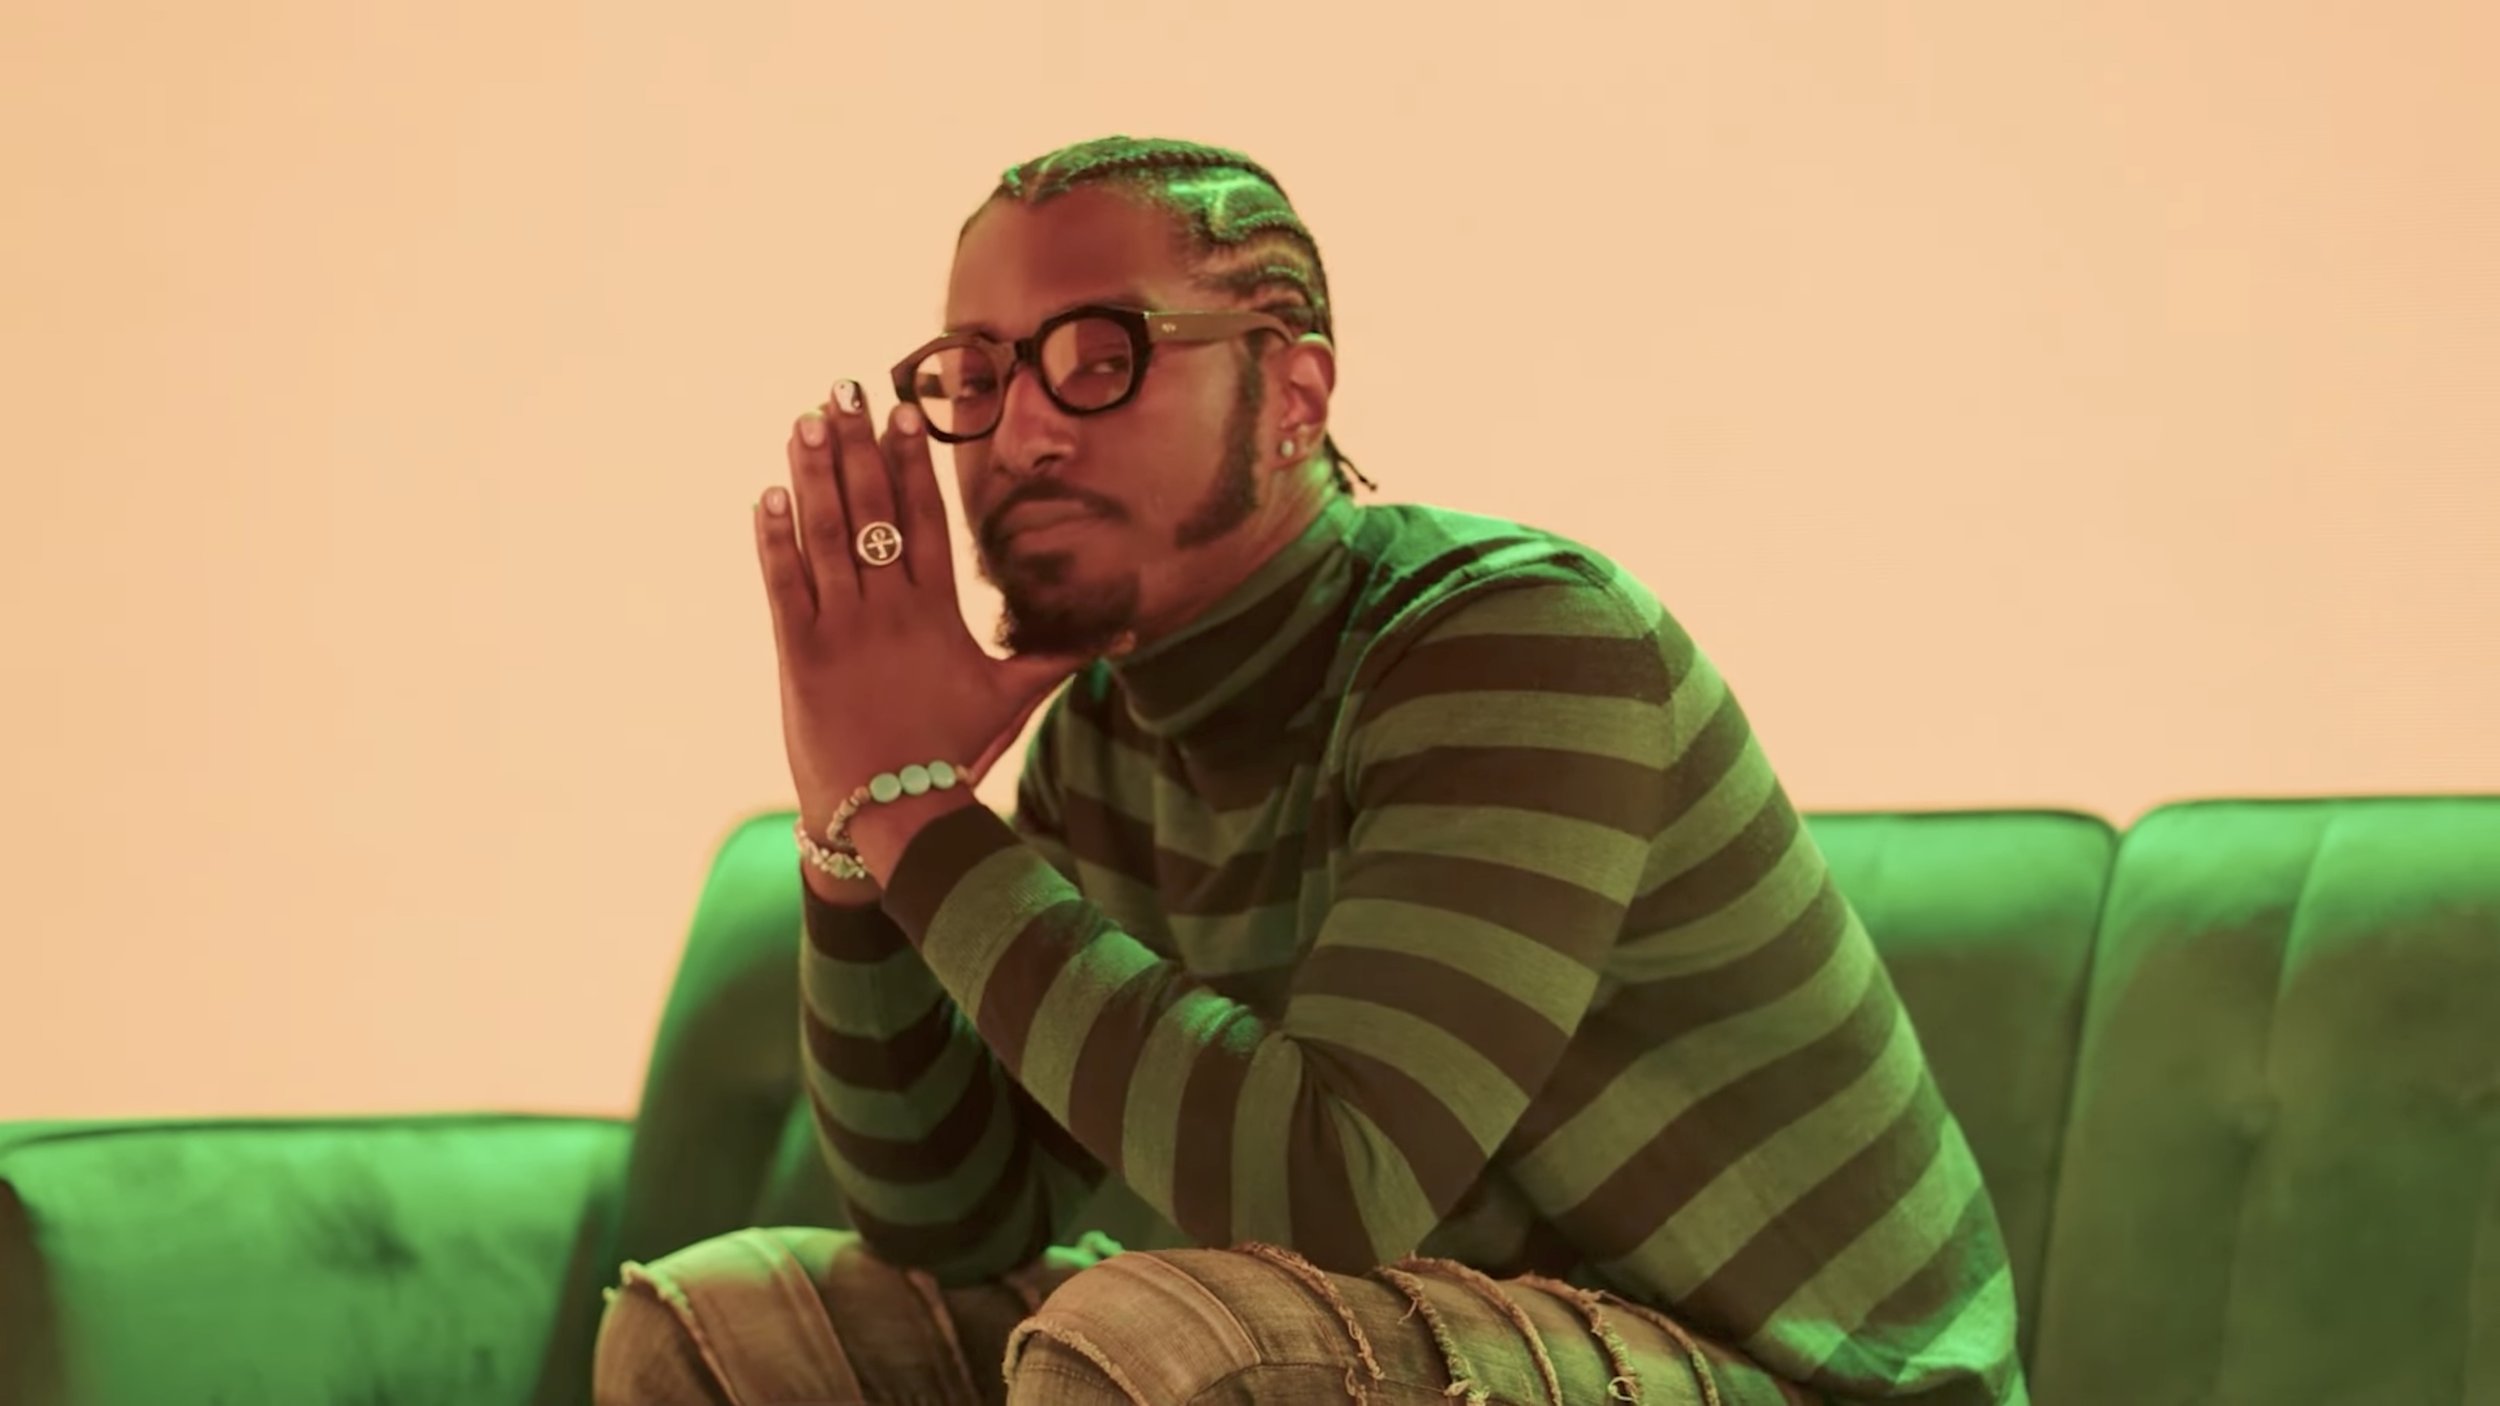
Canaan Cox - "Hate Me More"

0
Kyndle Wylde - "Magic"

0
Nate Mitchell - "What Do I Do"

0
Colt Ford & Krizz Kalico / HoodBillies - "Bad Ass American"

0
Canaan Cox - "Twice" (Ensemble Cut)

0
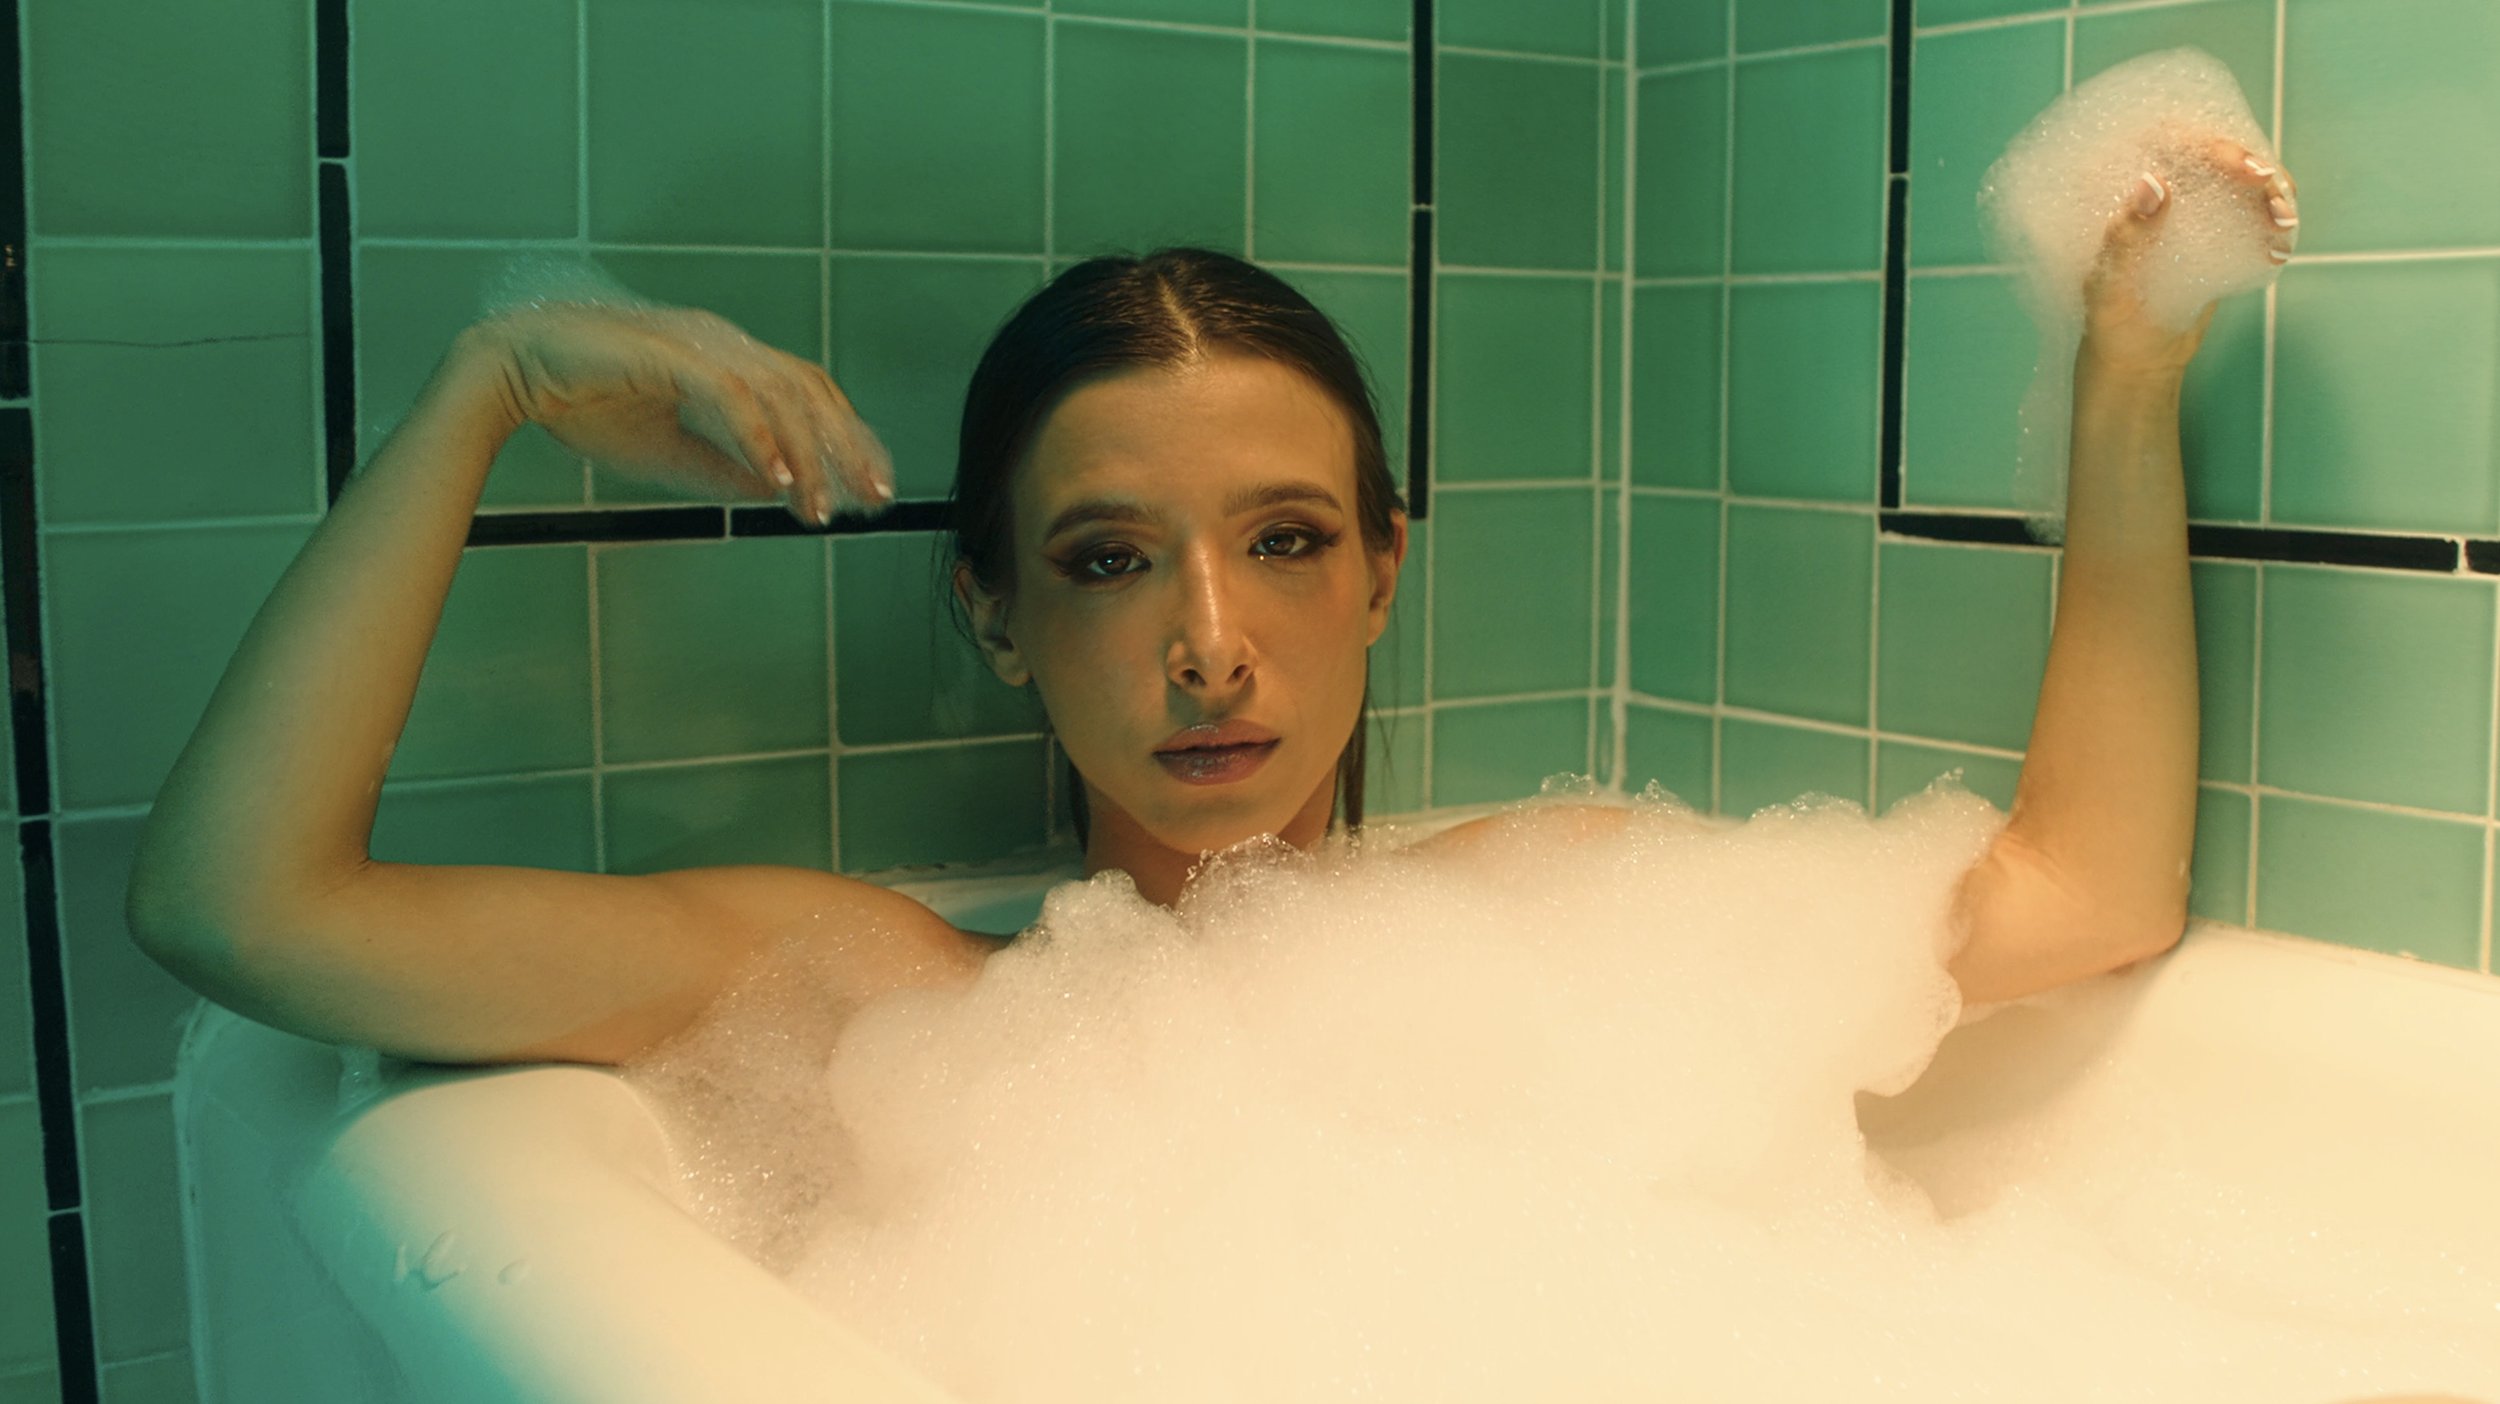
Pepper Said - "Sweat"
0
Joey Sandak - "Untitled"
0
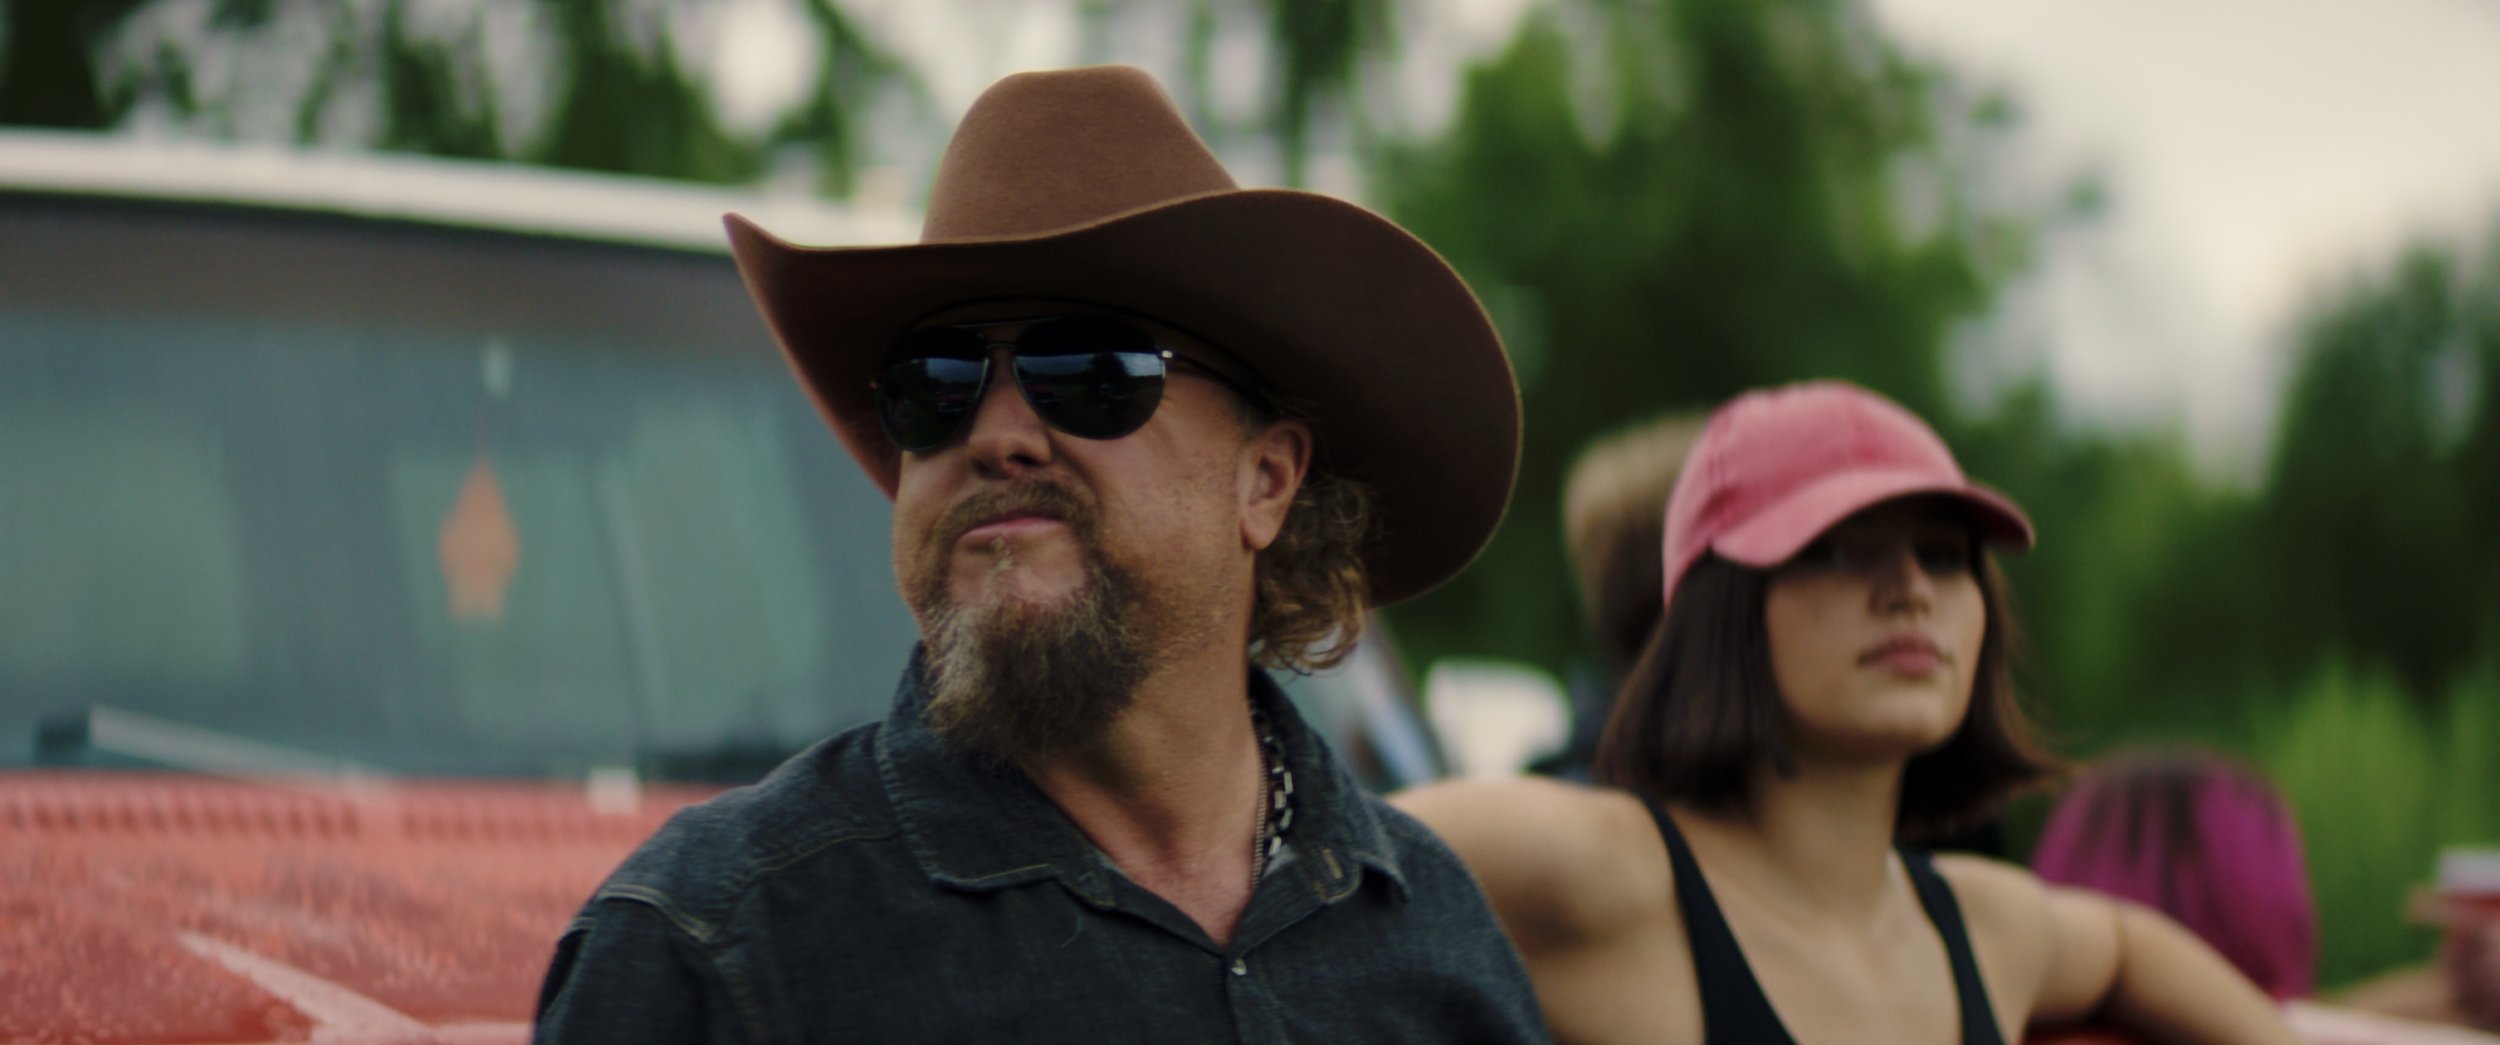
Colt Ford - "Country As Truck"

0
Love & The Outcome - "Look What God Has Done"

0
Scott Stevens - "Neon On Ya"
0
Canaan Cox - "Kiss Him"

0
Dan Bremnes - "Hold You Tight"
0
Willie Jones - "Bein' Green"
0
Kyndle Wylde - "True Colors"
0
Canaan Cox - "Wish"
0
Scott Stevens - "New Boots"

0
Rod + Rose - "Christmas Hallelujah"
0
Atlas Lens Co 2021 Showreel